Patching holes
From nail pops to fist-sized damage: the right filler for each size and how to build it flush without a visible bump.
Read the guide →Interior wall repair · Canada
Renoverr collects plain-language methods for repairing interior walls in Canadian homes, from a single nail hole to a re-taped seam, written around real tools, real drying times, and real winter conditions.

The three core repairs
Holes get filled, seams get taped, and surfaces get sanded smooth before paint. These guides break each one into ordered steps with the drying realities of a Canadian heating season in mind.
From nail pops to fist-sized damage: the right filler for each size and how to build it flush without a visible bump.
Read the guide →
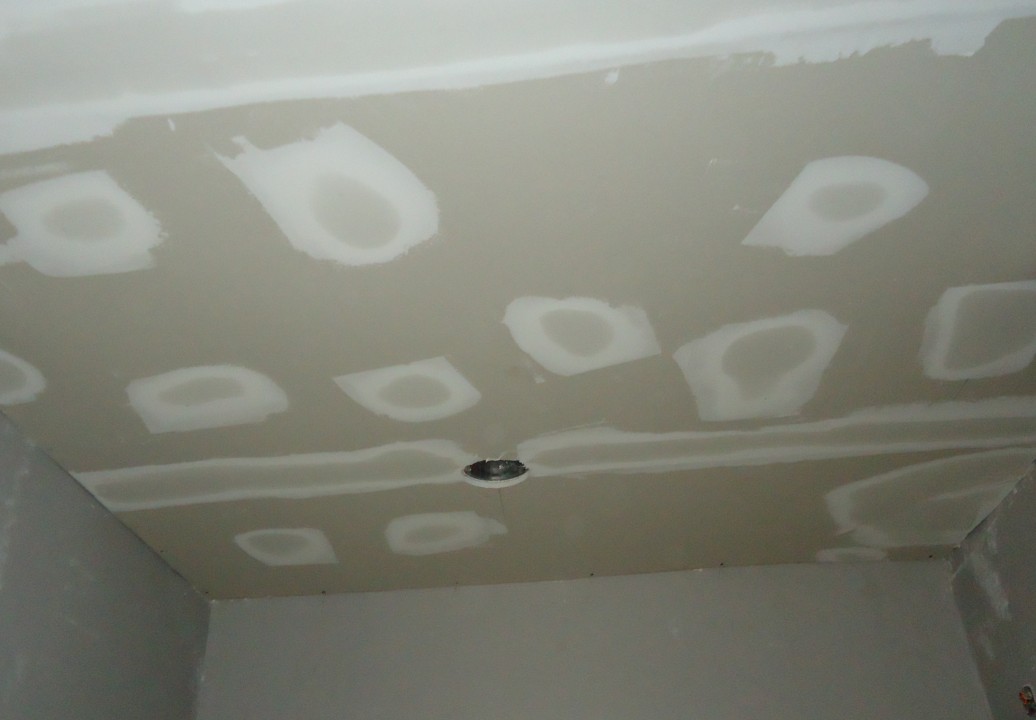
Bedding paper or mesh tape over a seam, then layering joint compound in coats that hide the joint completely.
Read the guide →
Knocking down dried compound to a feathered, paint-ready surface while keeping fine gypsum dust under control.
Read the guide →How these notes are written
A 3 mm nail hole and a 100 mm doorknob dent are not the same repair. Each guide ties the method to the hole size, not a one-size patch.
Joint compound cures slower in a dry, heated winter interior. Coat timing notes account for low indoor humidity common across Canada.
Sanding gypsum produces fine respirable dust. Containment and respirator notes follow public guidance from CCOHS.
Questions or corrections
If a step is unclear or you spotted an error in a guide, use the form. It is the simplest way to reach the people who maintain these pages.